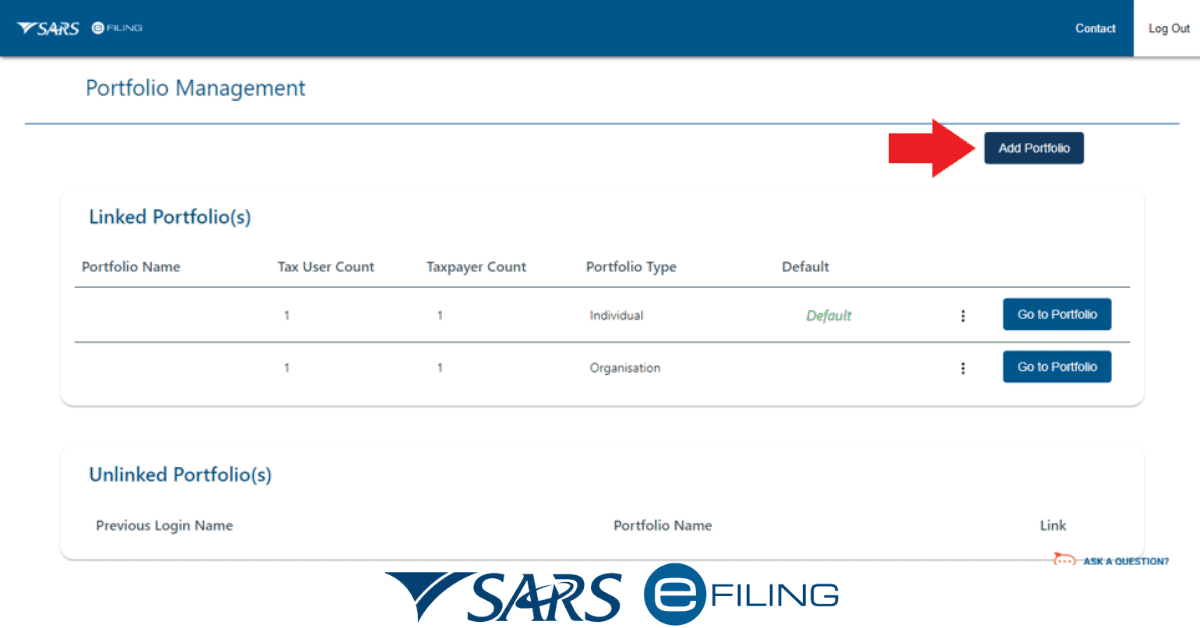
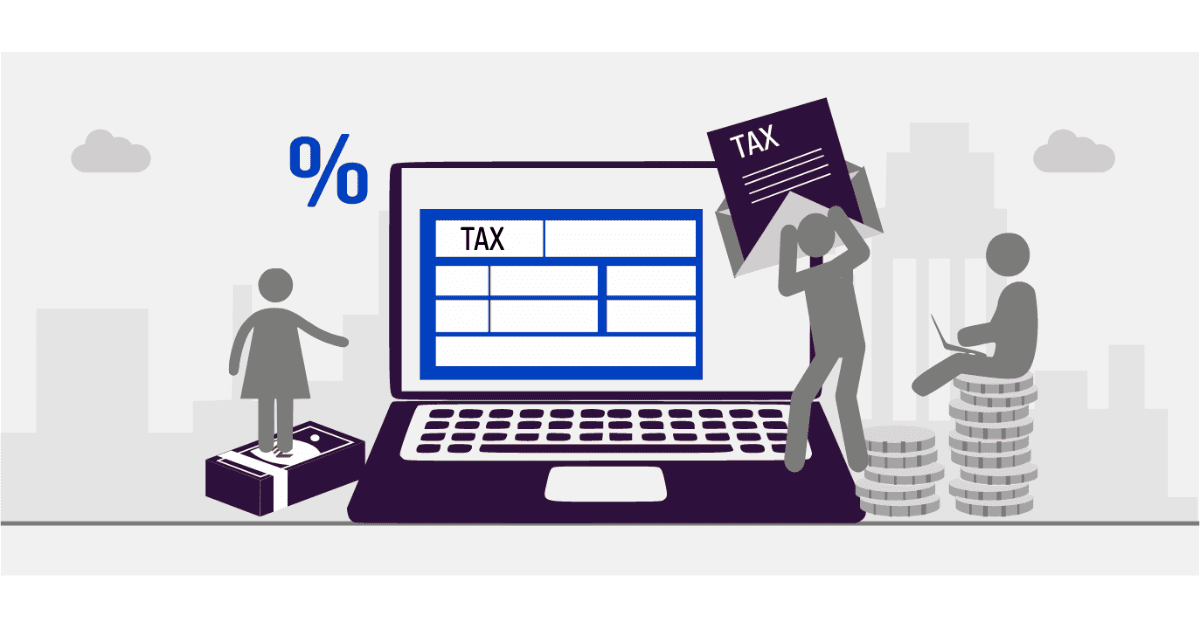
If you are a user of eFiling, you may need to adjust user rights to manage your organisation’s tax affairs more effectively and securely. User rights control users’ actions within the system, such as viewing tax information, submitting returns, or making payments. The steps to change your user rights on eFiling will be discussed in this guide, so you can ensure that your organisation’s tax affairs are managed effectively and securely.
How do I change my user rights on eFiling?
If you use eFiling to submit tax returns and manage tax affairs for your organisation, you may need to change user rights for yourself or other users in your group. User rights control users’ actions within the system, such as viewing tax information, submitting returns, or making payments. In this guide, I will show you the steps to change your user rights on eFiling, so you can ensure that your organisation’s tax affairs are managed effectively and securely.
Here are the steps to change your user rights on eFiling:
- Log in to eFiling with your username and password.
- From the top menu, select the name of your organisation.
- From the menu on the left, select “Organisation.”
- Click on “Rights Group.”
- Click on “Manage Groups.”
- The “System Default Group” will display.
- Select “Setup New Group” to create a new group.
- Enter a name for the new group and select the desired rights for the users in that group.
- Save the new group and assign users to it as needed.
- You can edit or delete existing groups by selecting them from the “Rights Group” menu.
How do I request shared access on eFiling?
Requesting shared access is quick and easy if you want to give someone complete or partial access to your eFiling account to assist with your tax affairs. Following a few simple steps, you can provide someone with limited or full access to your account, allowing them to file returns, view balances, and manage your tax profile. To request shared access on eFiling, follow these steps:
Step 1:
To begin, log in to your eFiling account by visiting the eFiling website and using your registered username and password.
Step 2:
You will see a menu of options on the left-hand side of the page. Click on the “User” tab, then select “Tax Types” from the drop-down menu. This will take you to the “Manage Tax Types” page.
Step 3:
On the “Manage Tax Types” page, you will see a list of your registered tax types. In the middle of the page, under the “Action” column, click the “Select Option” button. From the drop-down menu, select “Obtain Full shared access.” This will give you and your Tax Practitioner access to your eFiling profile.
Note: If you want to grant limited access to your eFiling profile, you can select “Obtain Limited shared access” instead. This will allow your Tax Practitioner to perform specific tasks on your behalf, such as submitting returns and viewing your balances, but they will not have access to all the features of your eFiling account.
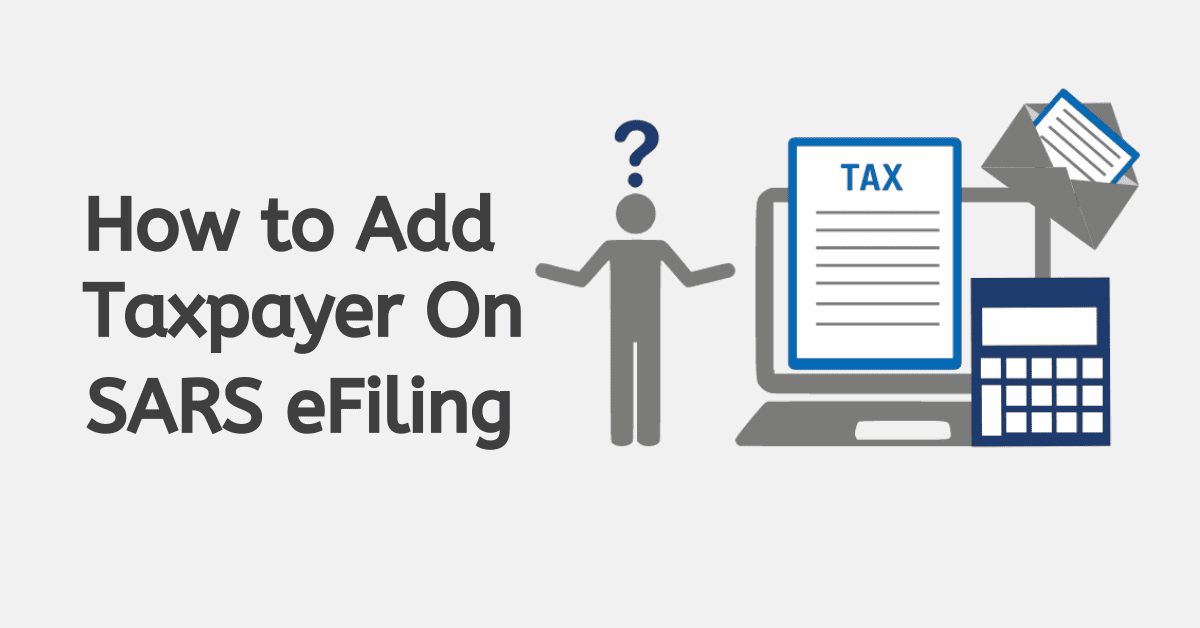
How do I add an individual on eFiling?
The process is straightforward if you need to add an individual to your eFiling account. eFiling is an online system allowing taxpayers to file their tax returns and manage their affairs electronically. Adding an individual on eFiling allows you to manage their tax affairs, file their tax returns, and make payments on their behalf if required.
To add an individual on eFiling, you will need to follow these steps:
Step 1: Log in to your eFiling account using your username and password.
Step 2: Click on the “Users” tab at the screen’s top left-hand side.
Step 3: Click on the “Register new” option on the left-hand side of the screen and enter the user’s details.
Step 4: Provide the user with a login name and password, and select “This user is a tax consultant/tax practitioner.”
Step 5: Choose the appropriate user authorisation level from the available options, such as admin, payments, submissions, completions, view only, or no access.
Step 6: Click “Register” to add the user to your eFiling account.
Step 7: You will now see a “User summary” screen, which you can print for your records, or you may proceed to add additional users in the same manner as detailed above.
Once the user has been added, they can access your eFiling account and manage tax affairs, file tax returns, and make payments on behalf of the taxpayer, depending on the authorisation level you have assigned to them.
How do I Authorise a taxpayer move request?
As we all know, eFiling has become essential to managing our tax affairs. It offers a convenient and efficient way to submit tax returns and manage our tax affairs online. With eFiling, taxpayers can easily access and update their tax information anywhere and anytime. However, as with any system, there may be instances where taxpayers must request a move of their tax records from one tax type or period to another.
To authorise a taxpayer move request, you can follow these steps:
- Log in to your SARS eFiling account using your username and password.
- Click on the “Organisations” tab on the menu bar at the top of the page.
- Select “Authorise Taxpayer Move Request” from the drop-down menu.
- Enter the tax reference number of the taxpayer whose move request you want to authorise.
- Select the relevant tax type from the drop-down menu.
- Enter the taxpayer’s new address details.
- Please ensure that the information you entered is correct.
- Click “Authorise” to confirm that you approve the taxpayer’s move request.
Once you have authorised the move request, SARS will update the taxpayer’s details accordingly.